nginx - Injecting CSS into HTML responses
nginx - Injecting CSS into HTML responses
I am a big fan of self-hosting, but sometimes the default styling of a web application is not to my liking. In this specific case, I was a bit annoyed by the default container width of OpenGist, a self-hosted GitHub Gist alternative.
The max width for the main container is set to 64rem (1024 px) by utilizing the max-w-5xl class from Tailwind.
Some people might be fine with that, but I have a 1440p monitor and prefer to use most of my available screen width for content.
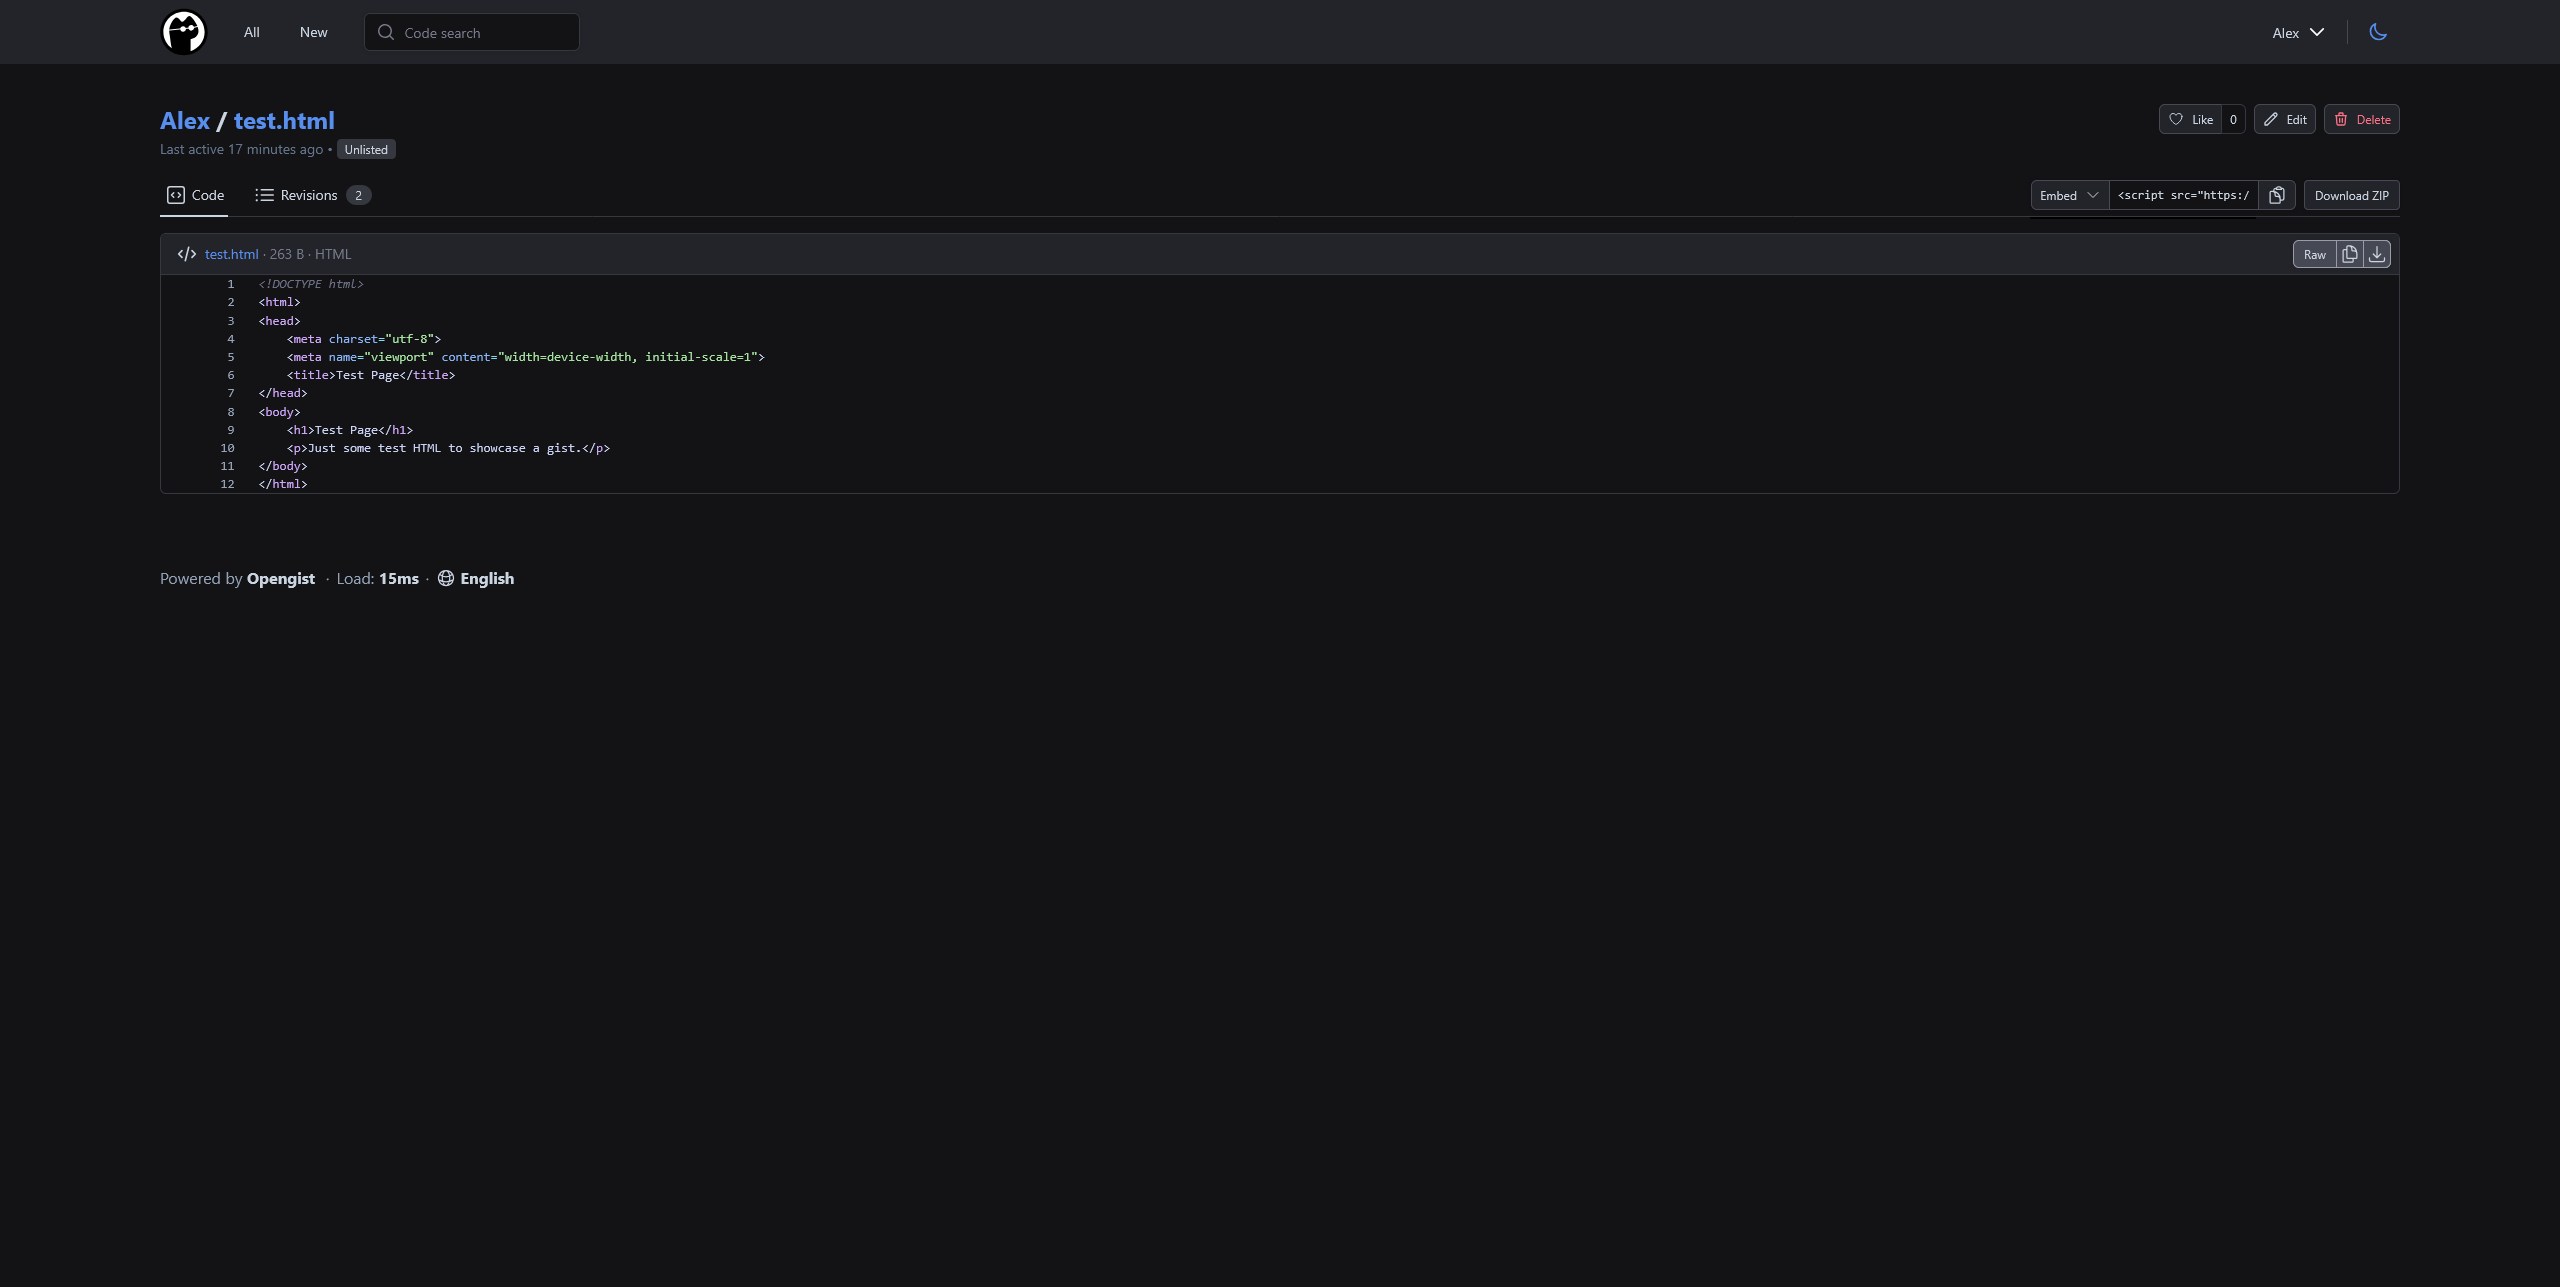
On a 1440p monitor, 64rem looks something like this:
Personally, I don’t like my screen width just being a bunch of wasted space, so I wanted to increase the max width of the main container to 90%.
I could have forked the project and changed the CSS, but I wanted to do it in a more elegant way, without having to maintain a fork.
Injecting CSS with nginx’s sub_filter
Since my instance of OpenGist sits behind a reverse proxy (nginx), I can use nginx’s built-in directive called sub_filter.
This allows me to modify the content of HTTP responses.
By default, this only affects HTML (text/html) responses, but this can be overridden with the sub_filter_types directive.
To inject custom CSS into the HTML responses of OpenGist, I added the following configuration to the location block in my nginx configuration:
## Search for the closing </head> tag and inject custom CSS before it, by using the `<style>` tag.
sub_filter '</head>' '<style>.max-w-5xl { max-width: 90% !important; }</style></head>';
## `sub_filter_once` ensures that the substitution is only done once per response. This is typically the default setting anyway, but I prefer being explicit about it.
sub_filter_once on;
The !important in the CSS rule isn’t strictly necessary, but I added it to ensure that my custom CSS takes precedence over any other styles that might be applied to the .max-w-5xl class.
Depending on your use case it might not be needed, but if you notice that your custom CSS is not being applied, try adding !important at the end of the CSS rule.
A full example of the location block might look like this:
location / {
    ## Reverse proxy to the OpenGist application listening on localhost:6157
    proxy_pass http://127.0.0.1:6157;
    proxy_set_header Host $http_host;
    proxy_set_header X-Real-IP $remote_addr;
    proxy_set_header X-Forwarded-For $proxy_add_x_forwarded_for;
    proxy_set_header X-Forwarded-Proto $scheme;

    ## Search for the closing </head> tag and inject custom CSS before it, by using the `<style>` tag.
    sub_filter '</head>' '<style>.max-w-5xl { max-width: 90% !important; }</style></head>';
    ## `sub_filter_once` ensures that the substitution is only done once per response. This is typically the default setting anyway, but I prefer being explicit about it.
    sub_filter_once on;
}
Once you’ve added this configuration, you need to reload nginx to apply the changes:
sudo nginx -s reload
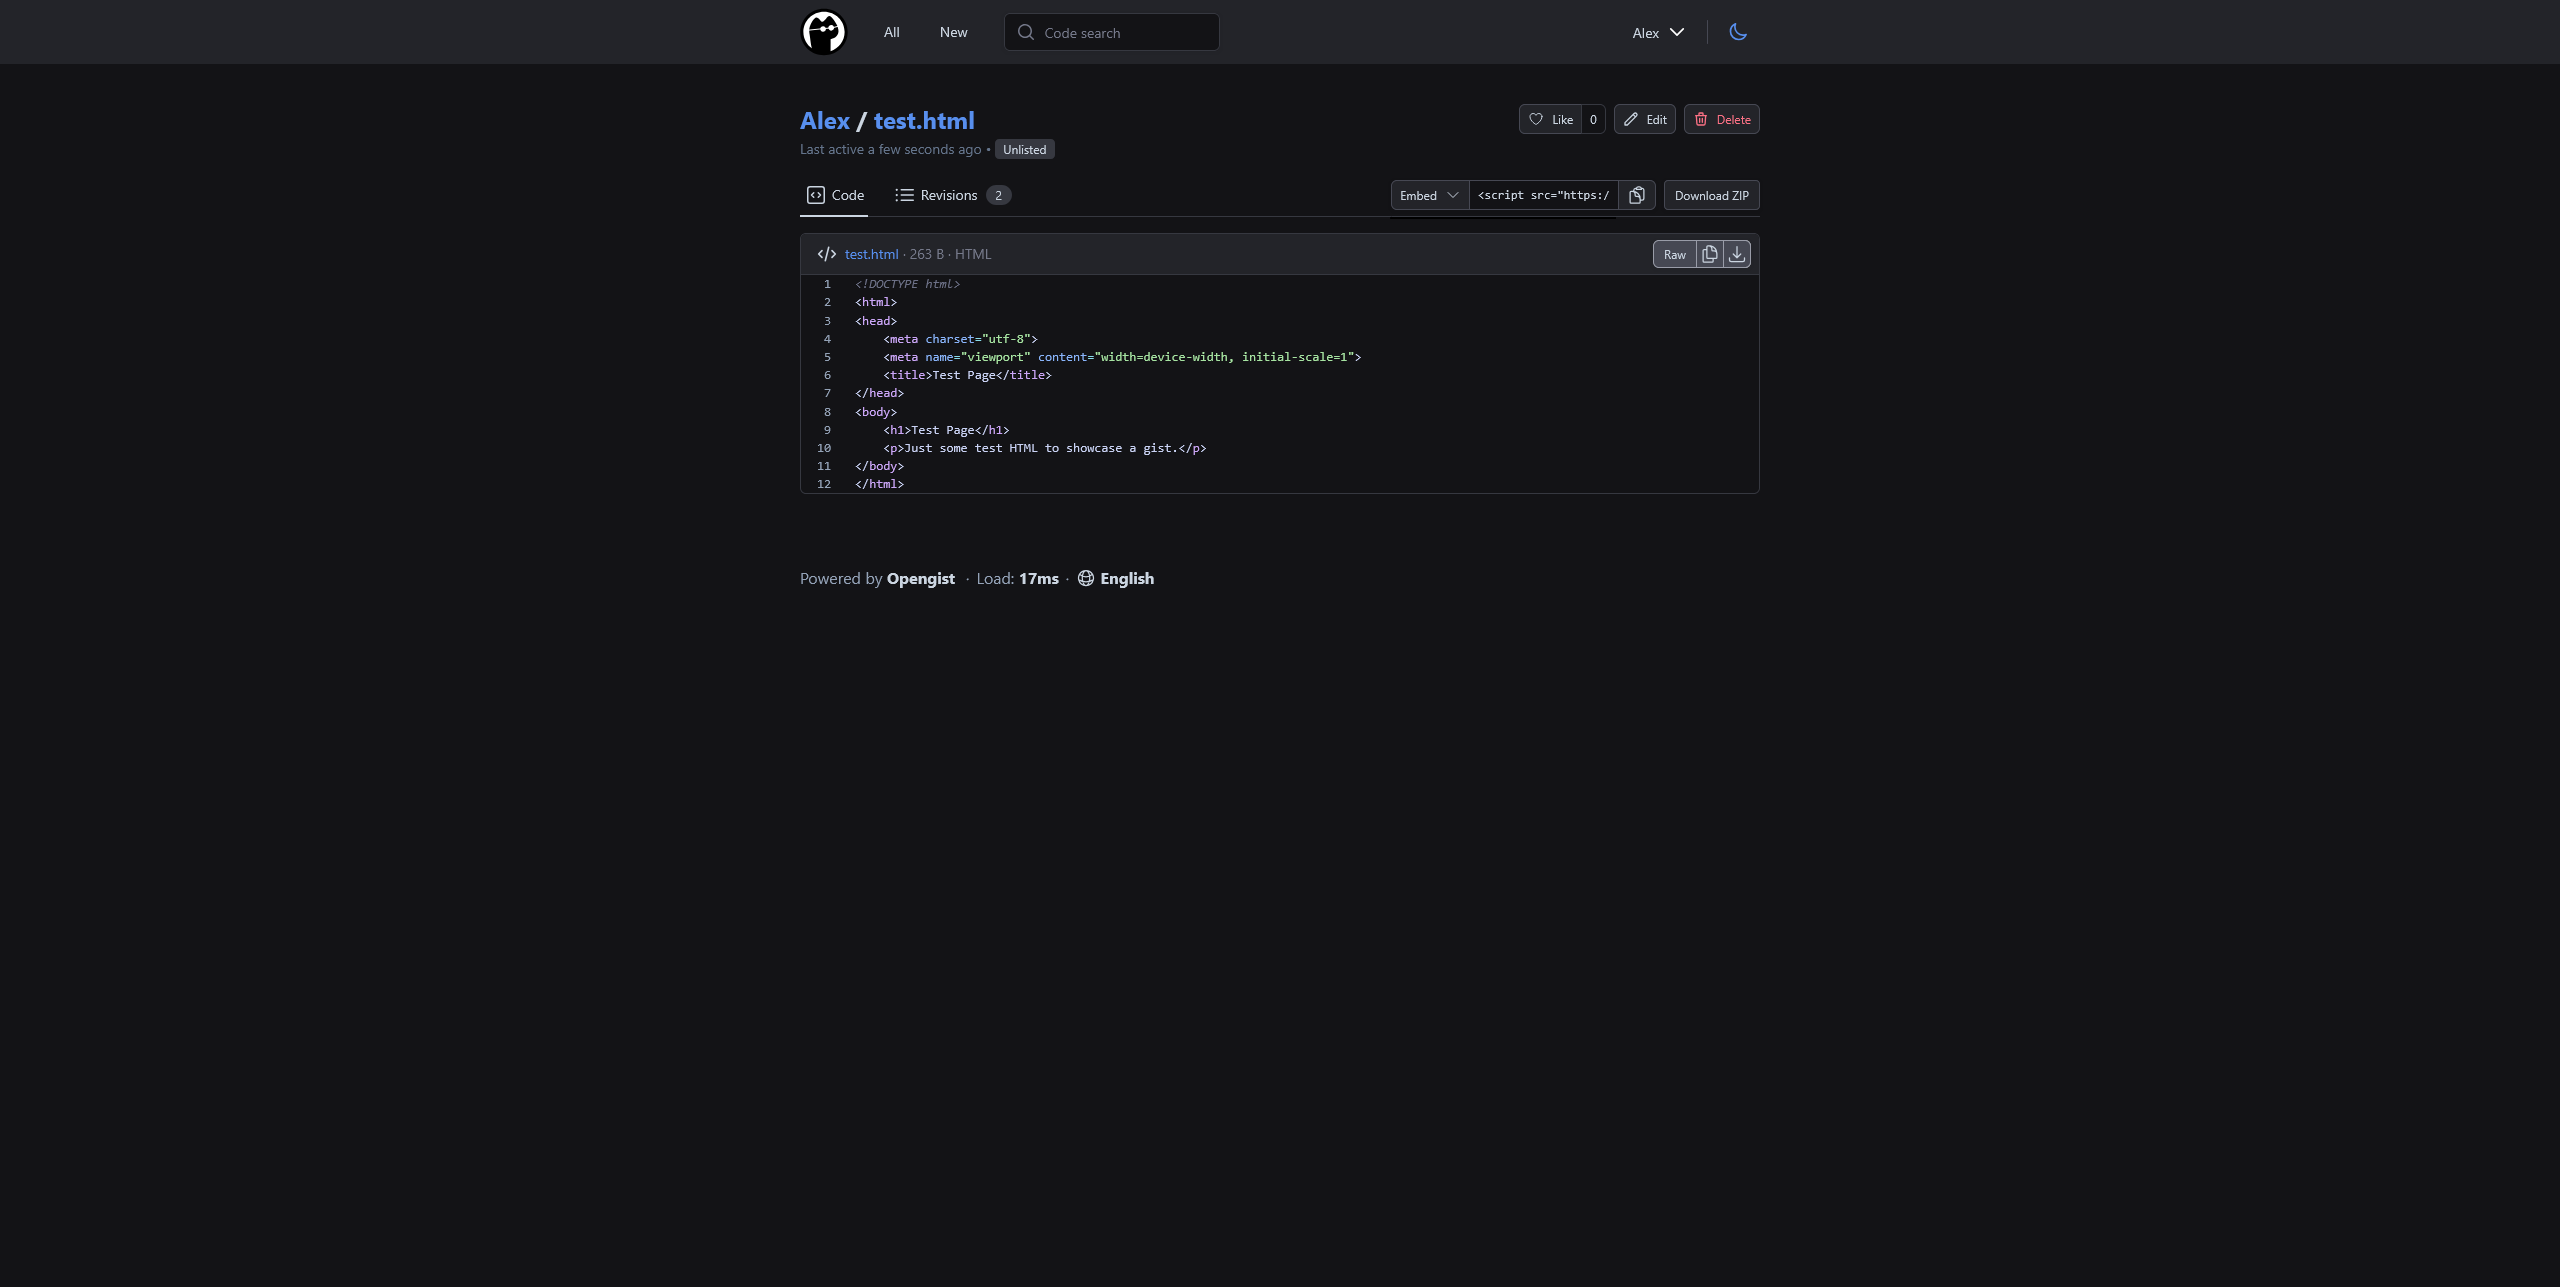
After reloading nginx, the main container of OpenGist will now have a max width of 90% instead of 64rem, which I personally think looks much better on my 1440p monitor: